If you love fresh, homegrown greens but don’t want the mess of soil, growing fenugreek (methi) microgreens on a terracotta clay tray is a perfect solution. This simple, soil-free method works beautifully because fenugreek seeds are large and naturally rich in stored energy, allowing them to sprout easily with just moisture and warmth.
Whether you’re a beginner or a home gardener short on space, this method is easy, affordable, and beginner-friendly.
What You’ll Need
Before you begin, gather these basic supplies:
- An unglazed terracotta clay tray or plate (with or without drainage holes)
- Fenugreek (methi) seeds
- Clean cotton cloth, paper towel, or jute mat
- A spray bottle
- Clean water
Terracotta trays are ideal because they absorb excess moisture and help regulate temperature, creating the perfect environment for sprouting.
Step-by-Step Guide to Growing Methi Microgreens
Soak the Seeds
- Start by rinsing the fenugreek seeds thoroughly. Soak them in clean water for 8–10 hours or overnight, then drain well.
- Soaking softens the hard seed coat and significantly improves germination speed and success.
Prepare the Terracotta Tray
- Wash the tray well and wipe it with a moist napkin.
- Terracotta naturally keeps the roots cool and evenly moist, which is ideal for microgreens.
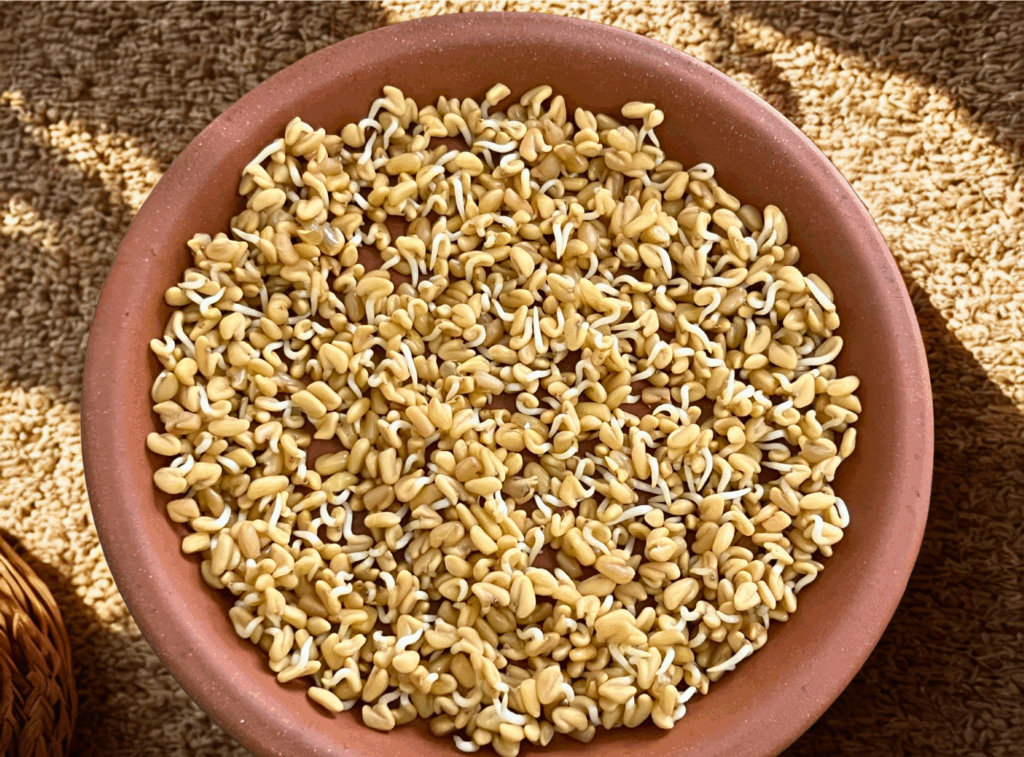
Spread the Seeds Evenly
- Spread the soaked seeds in a single, even layer across the tray. Avoid overcrowding, as fenugreek seeds expand as they sprout and need space for healthy growth.
Cover and Allow Germination
- Cover the seeds with damp cloth or place an inverted plate over the tray. Keep it in a warm, dark place and mist lightly once or twice a day. Spray the cloth every 12 hours
- You’ll usually see sprouts within 24–36 hours.
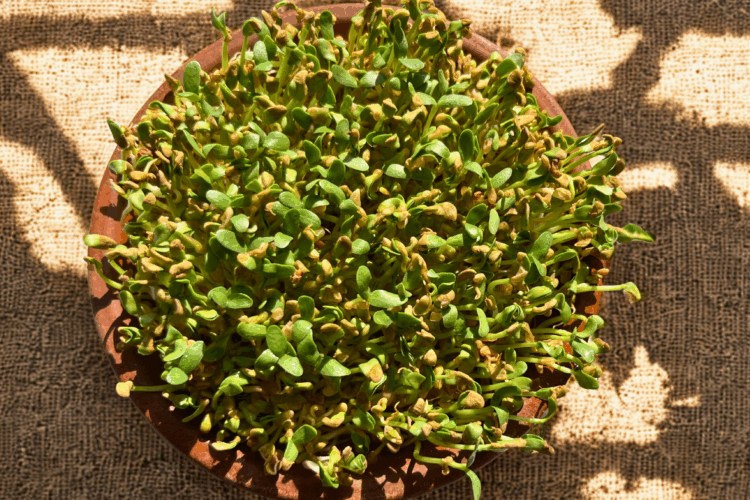
Introduce Light
- Once the seeds have sprouted, remove the cover and move the tray to bright, indirect sunlight. Continue misting 2–3 times daily, ensuring the cloth stays moist.
- Avoid pouring water directly onto the tray—gentle spraying is best to prevent root rot.
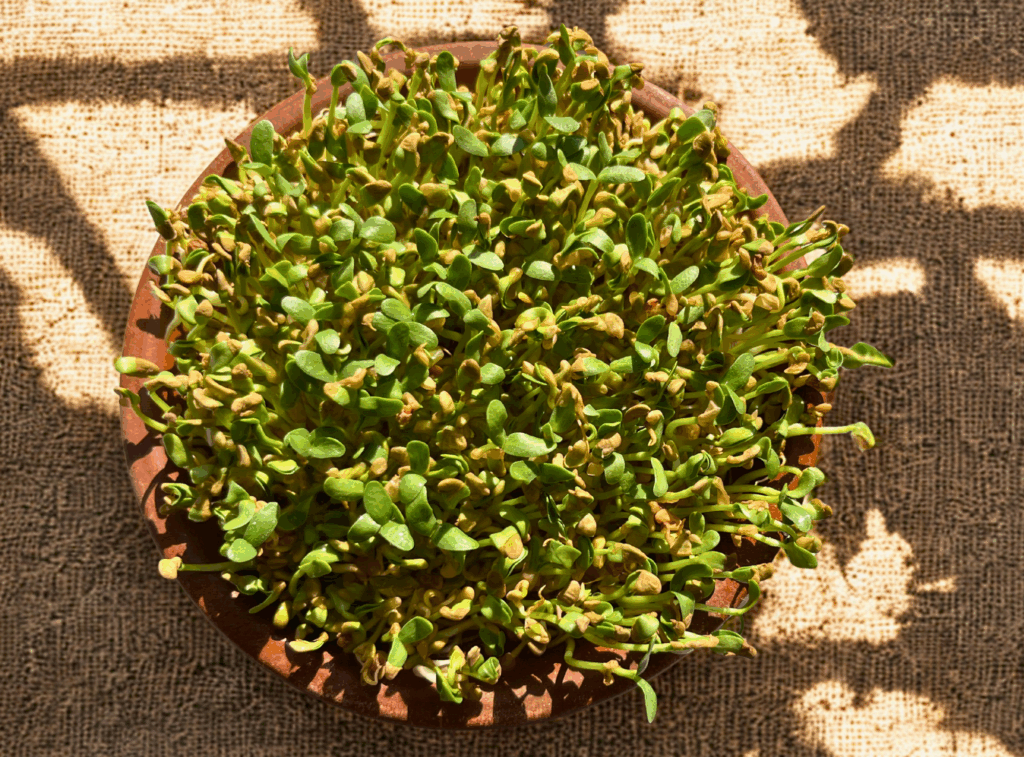
Harvest Your Microgreens
- Fenugreek microgreens are ready to harvest in 5–7 days. Roots are not edible Use clean scissors to cut them when they show true leaves (first two leaves)
- For the best taste and nutrition, harvest before the true leaves fully develop.
Tips for Healthy, Mold-Free Growth
- Use fresh, high-quality seeds
- Never let water pool in the tray
- Improve airflow if you notice mold
- Terracotta trays work best for moisture balance and cooling
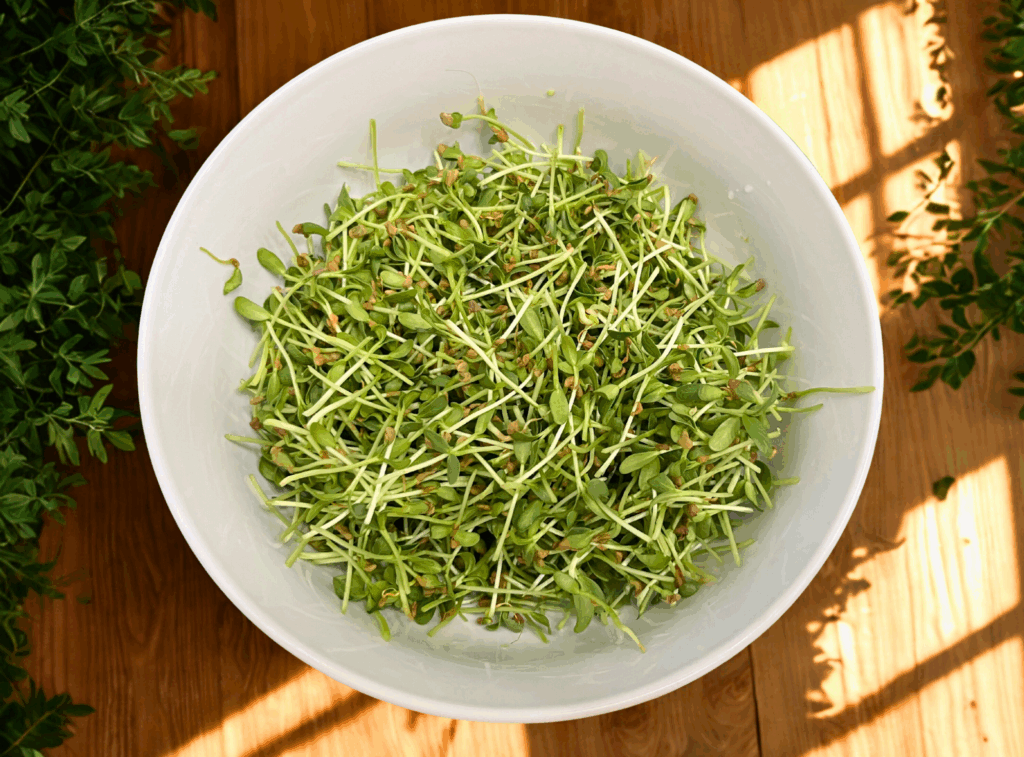
How to Use Fenugreek Microgreens
Fenugreek microgreens have a bold, slightly bitter flavor and are incredibly versatile. Use them in:
- Salads and sprout bowls
- Paratha or roti stuffing
- Dal, sabzi, and curry toppings
- Smoothies (use sparingly due to strong flavor)
I had no idea microgreens were so easy to grow!
I tried this and it is such a good way. I had no idea you could grow microgreens in a tray. If you are new to gardening this is a must try!